Visualisation
Introduction
Blue Crystal Phase 4 has facilities for remote visualisation
Installing the Viewer Software
The client software “Endstation” which needs to be installed on your workstation can be downloaded from the NICE website: http://www.nice-software.com/download/nice-dcv-2016
The NICE documentation for installation on Windows, MacOS and Linux is in Chapter 2 of the Guide http://www.nice-software.com/storage/nice-dcv/2016.0/docs/nice-dcv-endstation-guide-2016.0-17057.pdf
Logging On
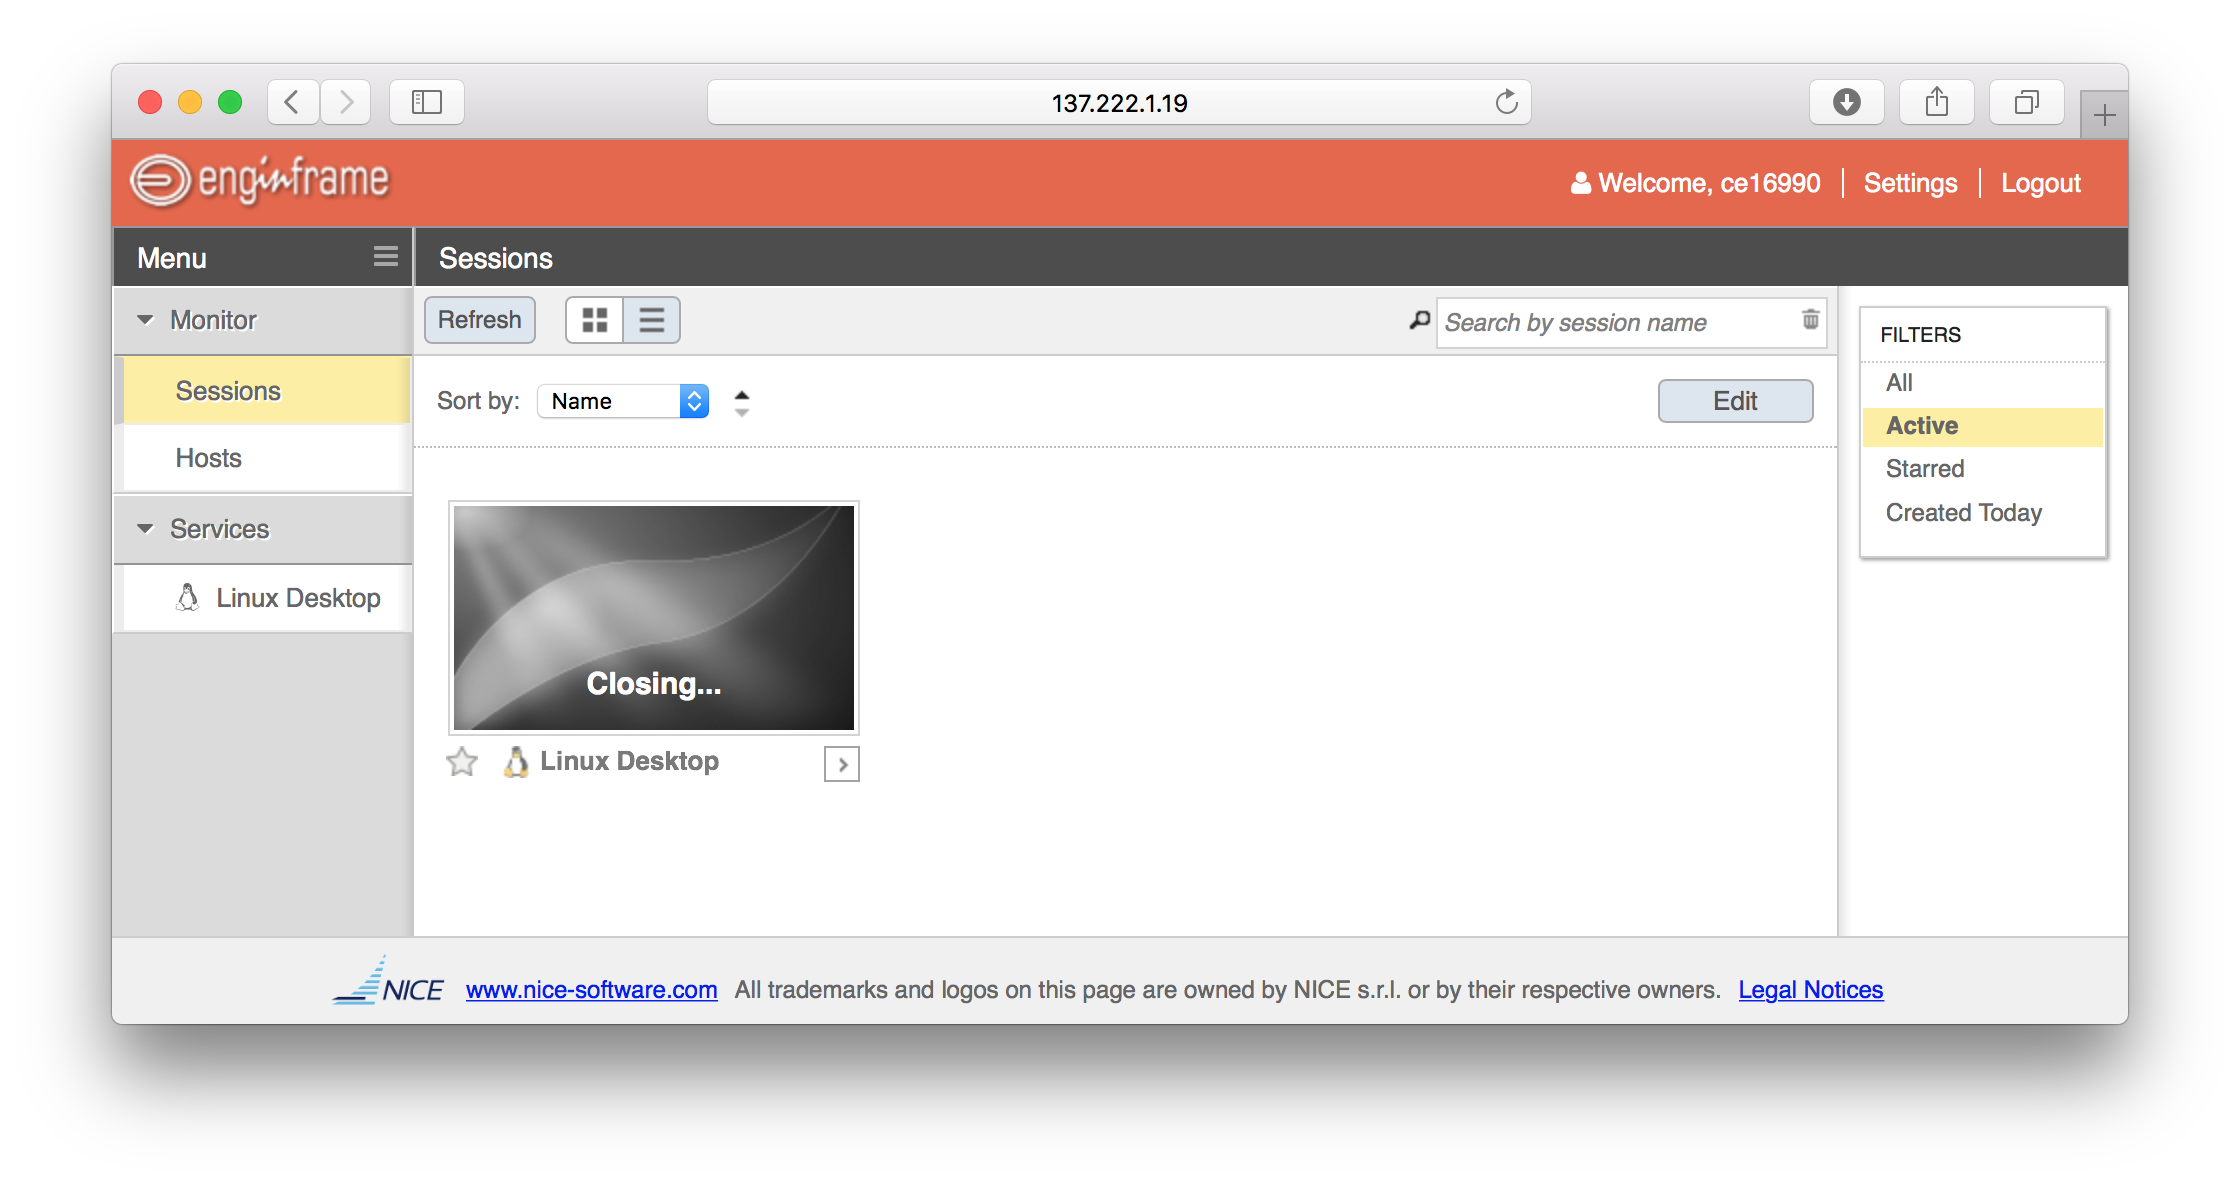
- In a browser got to the Engine Frame login page https://bc4vis.acrc.bris.ac.uk/
- Use your UoB username and password
- In the Services section of the menu on the left hand side click “Linux Desktop”
- The web server will automatically download the connection file for the NICE DCV application
- The desktop you get will be KDE (for technical reasons this in the only one supported)
Note
Mac Users: since the upgrade to High Sierra, the client no longer starts automatically when the connection file is downloaded. The workaround is to start the client from the command line
/Applications/DCV\ Endstation.app/Contents/MacOS/vncviewer Downloads/Linux\ Desktop.vnc
To Test The Connection
Open up konsole and run the command dcvtest. You should see a spinning logo
on a starfield and text finishing with something like
DCV ON

Produced 2509 frames in the last 5002 ms: average FPS 501.599
[ ... ]
(this result is from a wired network connection, if you are connecting over wireless it will perfrom more slowly). To stop the program press CTRL-C
Reconnecting
You can close your connection and the session will continue to run. You can then reconnect to it at a later time (for example from another location).
Note
The visualisation sessions are managed by Slurm in the dcv partition which has a maximum runtime. There is a licensing limit of 16 simultaneous sessions so the time limit may need to be reviewed depending on usage.